Mabinogi World Wiki is brought to you by Coty C., 808idiotz, our other patrons, and contributors like you!!
Keep this wiki going by contributing to our Patreon!
User:LexisMikaya/Optimizing Pictures to Wiki Standards
For a more general guide on 100% quality pictures, see here.
Policy Rules
For the full image policy, see here.
Before you take pictures for the wiki please understand the following:
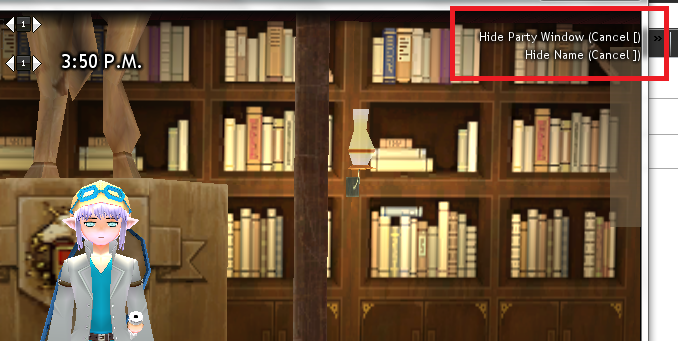
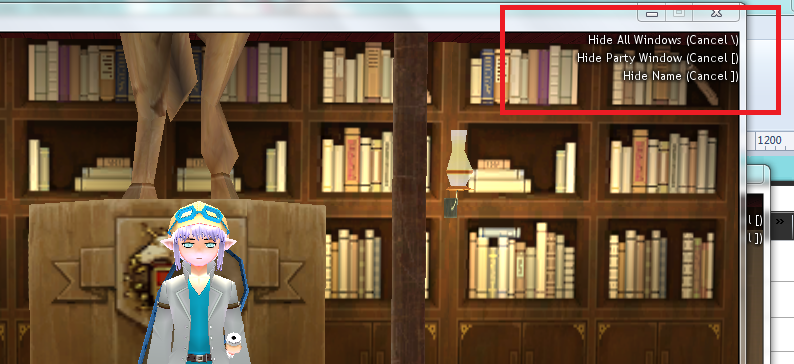
- You are not to upload pictures with mods being shown.
- This will result in the image being marked for replacement.
- Do not upload anything with a monochrome color scheme. (e.g. All one shade of a color, not necessarily just black and white)
- However, if the item is an event or gachapon item, or a specific color when obtained from Fishing, killing a certain monster, or received from an quest/NPC, and it comes in specific monochrome colors (including black/white, or a single shade of color), you may take pictures and upload it in its respective image gallery.
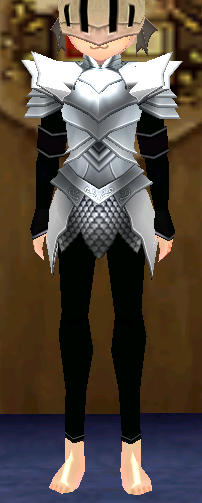
- Do not upload anything with black and/or white unless it cannot be dyed. (See Dustin Silver Knight Armor or Traditional Tir Chonaill Costume)
- However, if the item is an event or gachapon item, or a specific color when obtained from Fishing, killing a certain monster, or received from an quest/NPC, and it comes in specifically in Black and/or White colors, you may take pictures and upload it in its respective image gallery.
- Avoid using bright colors that may transition into white under certain lighting conditions.
- Same applies for dark colors that may transition into black under certain lighting conditions.
- Do not upload images with your name in it! (This is not a place to gain fame or glory, or monopolize the wiki with your own character.)
- The only exception is if the image is being uploaded on your personal page, in which you monopolize yourself there.
- You will not to revert the image back to your image if it breaks the rules or replaced by a better version.
- If you are going to revert it, state a valid reason!
- If the reversion is done by an administrator, it is considered as a "final" reversion of sorts, but it can still be subjected to replacements if applicable.
- IF the image is lower resolution but fixes the problem of the image, it is considered a valid replacement, despite being lower resolution and/or quality than its previous revision.
- Once you upload a picture, you will be responsible for any actions and/or consequences it may cause (Such as replacements, deletion, being asked to retake it, etc.).
- If you are going to revert it, state a valid reason!
- Do not wear guild robes unless you are planning to replace the Guild Robe pictures. (Prevents guild advertising, and this is not the place for it.)
- Do not upload images taken directly from any Mabinogi Character Simulators. (They can provide color changes to some items that cannot be dyed by any means.)
- You can upload it as a placeholder however, but it will be replaced by an in-game version once it is localized for Mabinogi in the North American Servers.
- However, you are not to replace in-game images with simulator images.
Things to Consider
- The wiki prefers ".png" files over ".PNG" files, as most, if not all, the templates used on the wiki is of the lower-cased extension.
- Try not to upload pictures that are in your character's undergarments. Remember that there are people that are sensitive to this type of material.
- This especially applies to female characters, but generally applies to all genders of all races.
- Giants may pose without clothing due to some of the gauntlets having shoulder pads, which is obscured by most types of clothing/armors.
- There are some exceptions to this (See character weight).
- This especially applies to female characters, but generally applies to all genders of all races.
- Please refrain from uploading Character Simulator images. As stated above, you can upload it as a placeholder of sorts, but be aware that it is subject to replacement.
- No gestures nor idle poses. They take away from the clothing and it usually becomes distracting. Clothing that has passive gestures, or idle poses, (see Berched Wear or Eluned Alchemist Suit (F)) can be uploaded, so long you equip something that does not appear in the character's hands, such as a Tailoring Kit or Metallurgy Sieve.
Equipment Info
- Make sure your character's colors (skin color, hair color, etc.) do not hide or mingle with the piece showcased to the point it can be indistinguishable from each other.
- If a piece of gear has an animation, privilege uploading a .gif of the equipped pose instead of a png.
- Headgear:
- You may want to use an alternative hairstyle if your current hairstyle interferes with the headgear's details.
- This is usually under personal preference, but is recommended (see Pop Star Earrings for an ideal example).
- You may want to use an alternative hairstyle if your current hairstyle interferes with the headgear's details.
- Outfits:
- Avoid using long-haired characters or long-haired wigs when showcasing an outfit, as part of the back may be hidden.
- Avoid using the same colors for different parts of the outfit unless the outfit comes in set colors.
- Shoes:
- Try to avoid any clothing that has socks. Boots will usually cover the socks if the socks are small enough.
- Avoid clothing with stockings and/or high thighs as well.
- Some clothes clip the boots, while others remove anything above the ankle entirely. The Style Suit (F) is a prime example.
- Gloves:
- Do not strip down to gloves only. Wear something that shows your arms and keeps your character clothed, such as Popo's Shirt and Pants for Humans and Elves, or Newbie Wears.
- Try to avoid clothes with long sleeves, arm bands on the wrist, or sleeves that cause the glove to distort anything that covers their forearm.
Game Settings
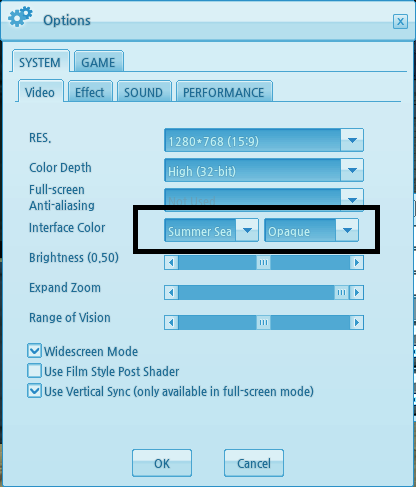
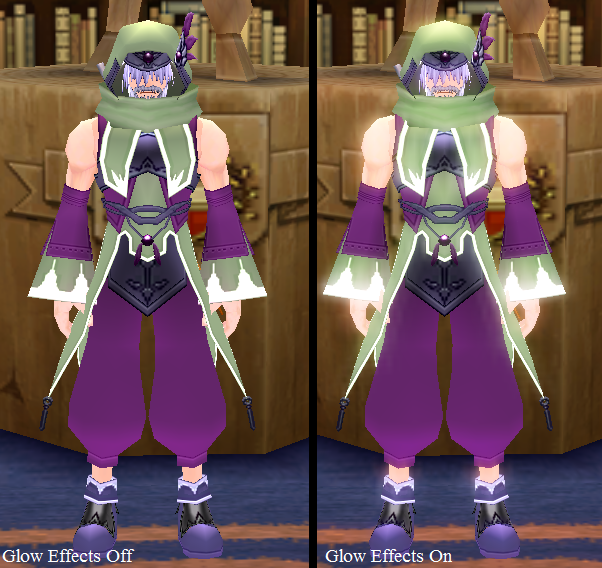
- Turn off Film Style post-shader option and Glow effects, as it alters the colors of the game.
- Turn off Outline Rendering. A one pixel wide outline is rendered if this option is on.
- This makes certain items grainy on low resolutions, and usually is unnecessary.
- The wiki prefers no Outline Rendering over Outline Rendering. However, there are exceptions.
- For an example where is Outline rendering useful, see Halloween Witch Robe.
- Indoor lighting is usually preferred over outdoor lighting.
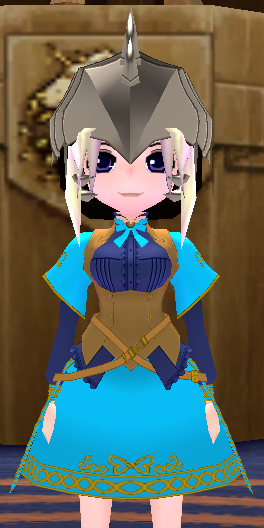
- Using a black backdrop, such as the doorway inside Dunbarton School or the area between Erinn and Tir Na Nog is preferred.
- If the item is hard to see on a black backdrop, take the preview in front of the dunbarton school statue.
- Optimal daylight (12:00pm to 2:00pm/12:00 to 14:00) will not stop you from uploading images, but the lighting is generally more consistent indoors than it is outdoors.
- If you upload an outdoor image, it will be subject to replacement.
- Using a black backdrop, such as the doorway inside Dunbarton School or the area between Erinn and Tir Na Nog is preferred.
- On most new player accounts/new client installations, you may get random quest arrows and markers.
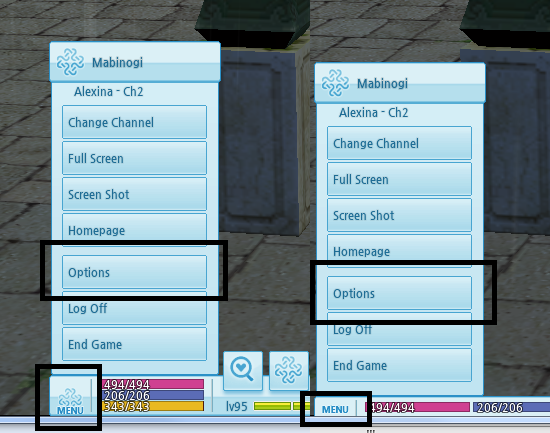
- To disable this, go into Options. Click the Game Tab, and then click on the Etc. sub-tab. Check the box next to "Hide Quest Info" and all quest markers on the map, the blue quest arrow next to your character's feet, and quest markers above NPCs will disappear as long as the box is checked.
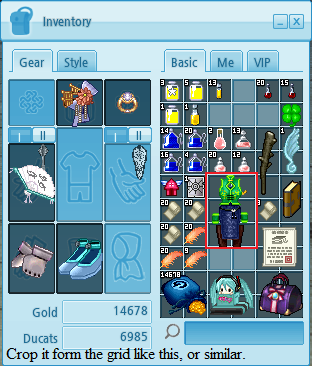
Taking Inventory Icons
Taking Pictures of Bodygear and Robes
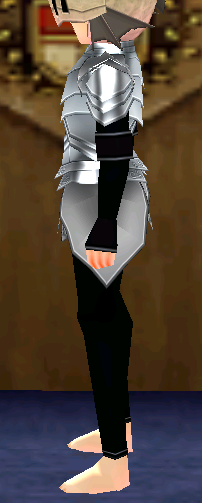
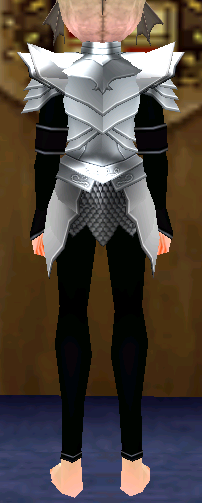
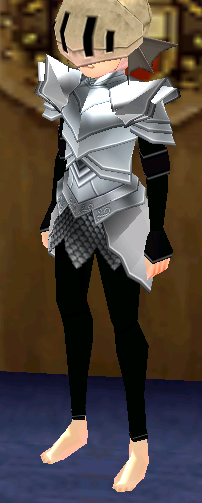
Notice #1: The younger (or smaller) the character, the less detail gets shown! Try to have a character between the ages of 12 to 15.
Notice #2: Some clothing is age restricted (such as Long Swordsmanship School Uniform (F) or Coco Panda Robe). If the bodygear is age restricted, it is recommended to take the photos at the proper age to prevent confusion of wearability.
Notice #3: Some clothing are asymmetrical (One side is not the same as the other side. For a recent example, see Adorable Raccoon Outfit (Female)). It is recommended to take both sides, but it is usually unnecessary if the details are small (see Selina School Uniform).
Set up
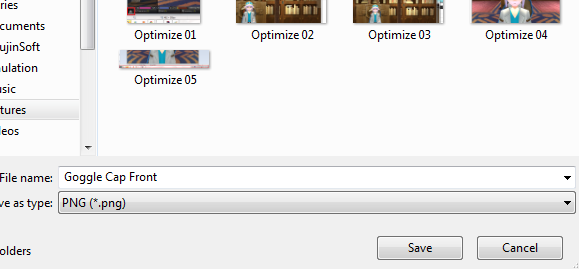
Using the Print Screen Button
This is the recommended method for those inexperienced with using the Snipping Tool.
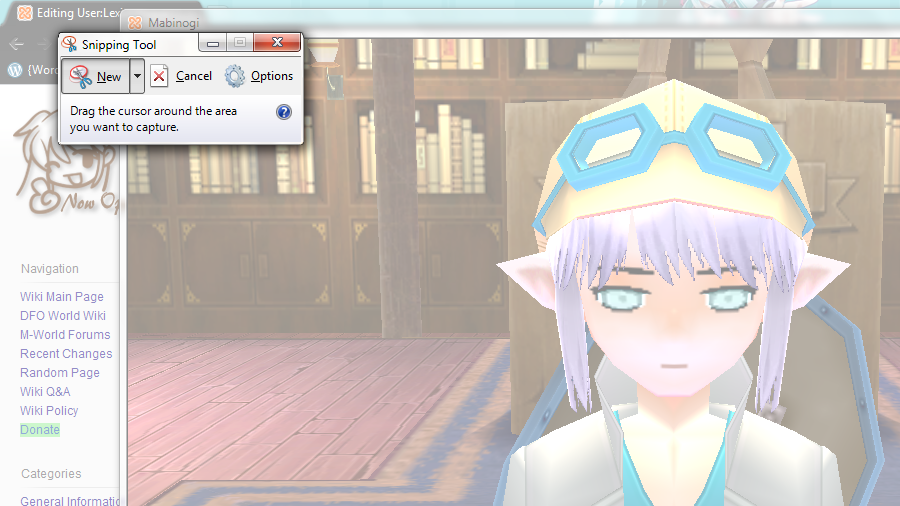
Using the Snipping Tool
Thanks to Xcelled194 for bringing this to my attention.
This is available for users of Windows Vista or newer only.
Taking Pictures of Headgears
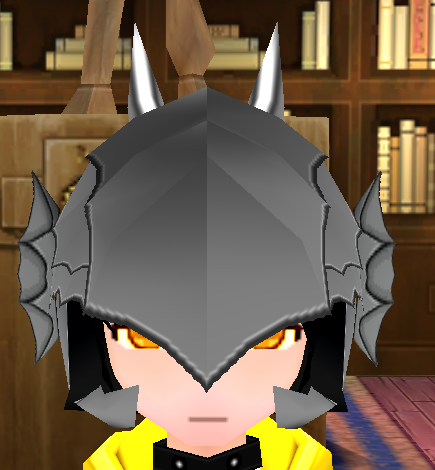
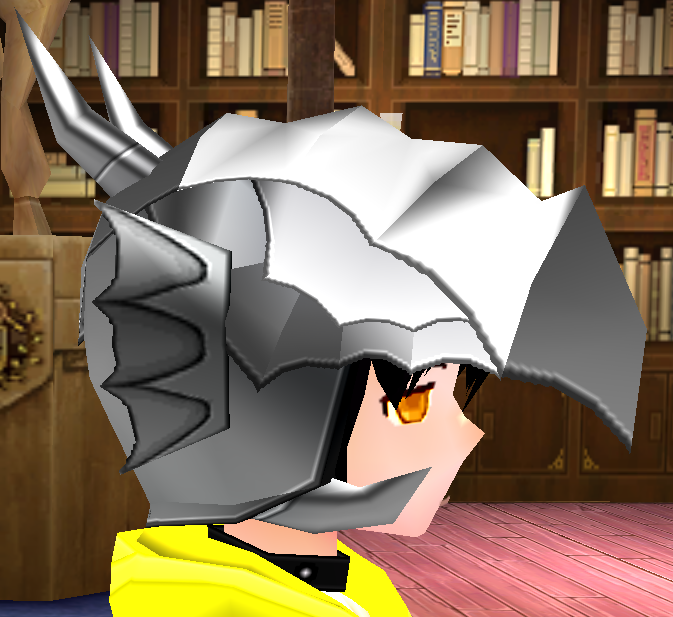
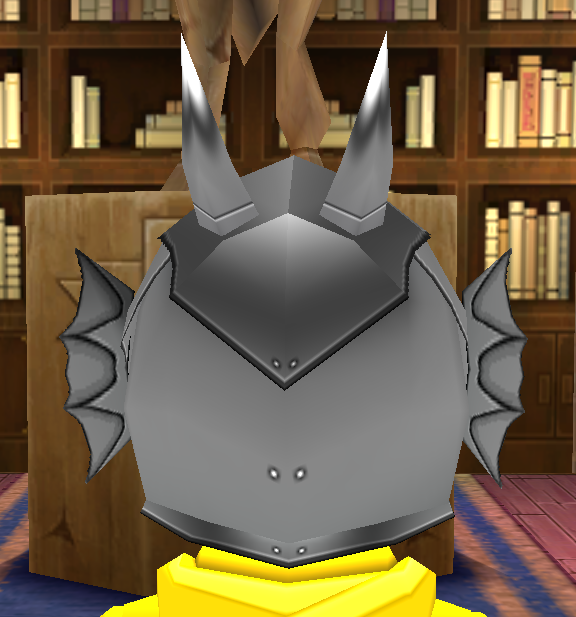
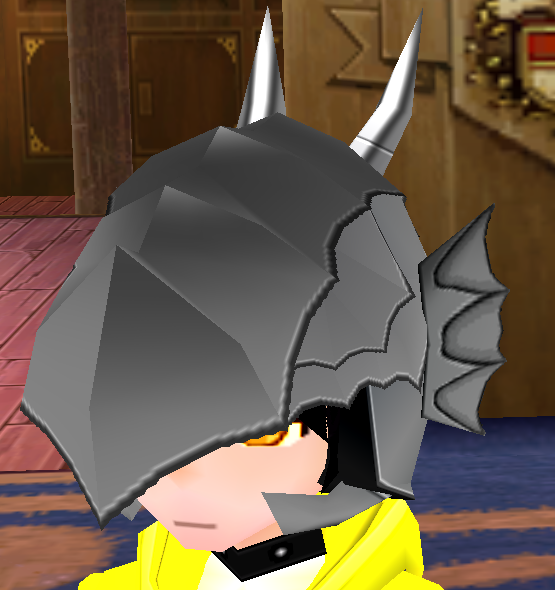
Notice #1: Some headgears are asymmetrical (One side is not the same as the other side. See Boatswain Pirate Bandana). It is recommended to take both sides, but it is usually unnecessary if details are small (See Vintage Dragon Felix Helm).
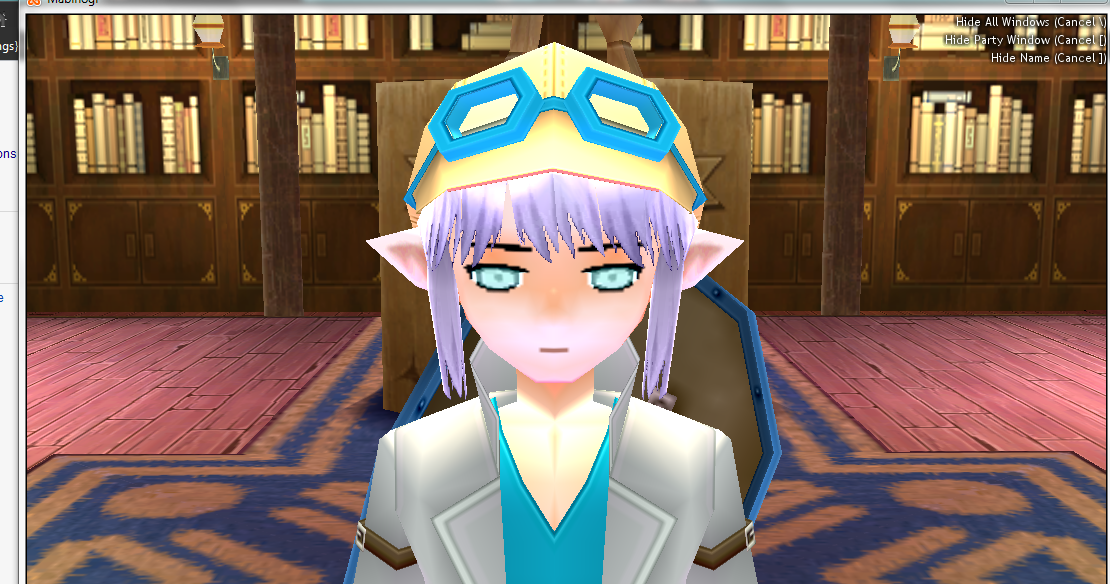
Notice #2: Since headgear does not change in size depending on age, you can be any age to take the pictures. Camera will be a bit below the chin at taller heights.
Notice #3: Try to find a hairstyle that exposes the forehead and shows your entire ear. This is highly recommended for circlet-type and earring-type Items.
Notice #4: Do not pick hairstyles with an ahoge (Hairs that stick out from your head. See here for an example.) or with a ponytail that is above the head. This will obstruct some angled and/or back views.
Notice #5: Avoid hairstyles that have bangs that covers the side of your head. This obscures side views.
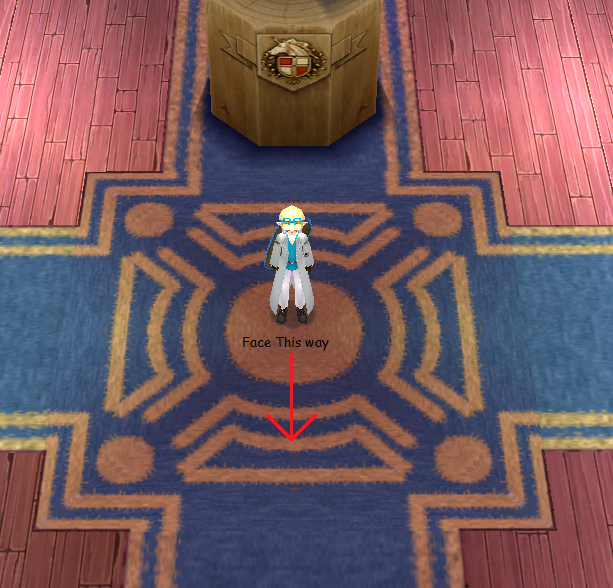
Set up
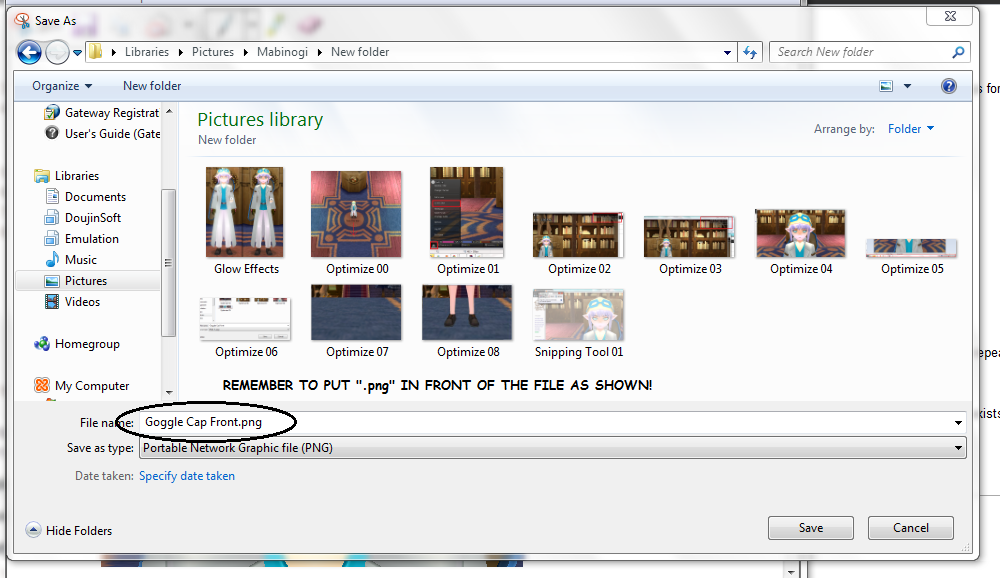
For a visual setup, see here
Using the Print Screen Button
This is the recommended method for those inexperienced with using the Snipping Tool.
Using the Snipping Tool
Thanks to Xcelled194 for bringing this to my attention.
This is for Windows Vista and 7 Users only.
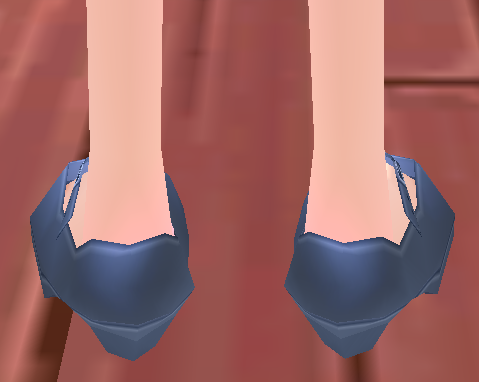
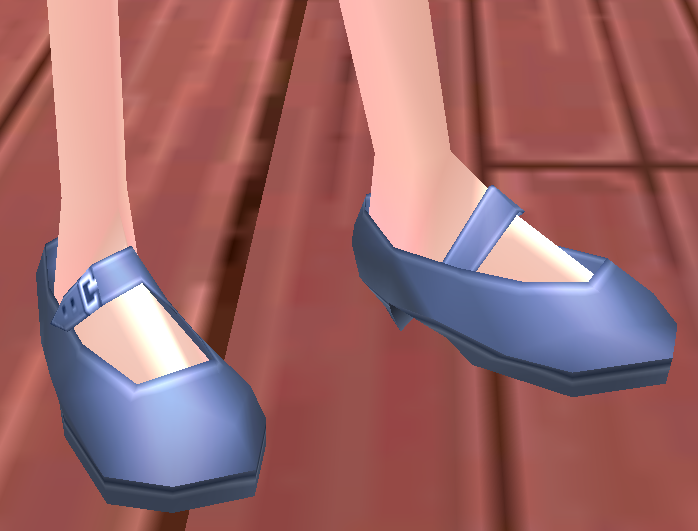
Taking Pictures of Shoes
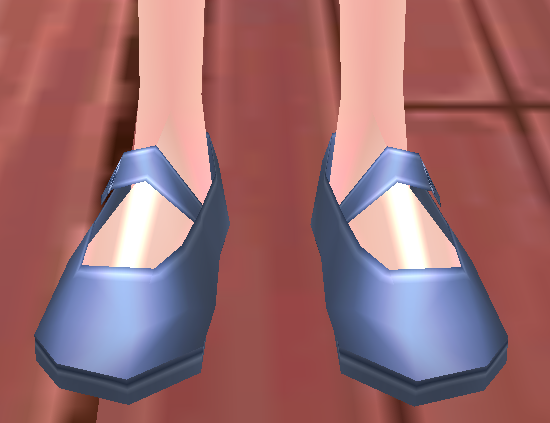
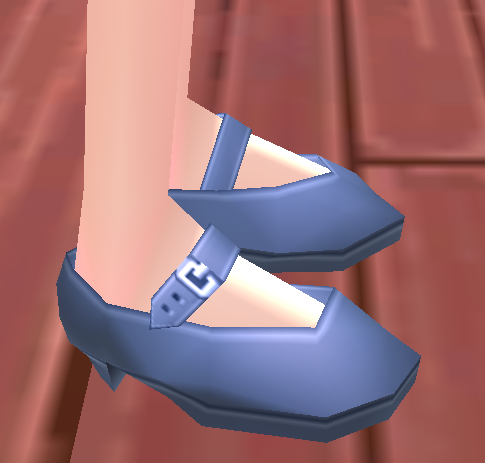
Notice #1: This method will work with most shoes and some boots. Not all boots will work out with this method.
Notice #2: Avoid clothing with socks and/or stockings. Some boots will cover the socks, but not all types. To avoid this, simply wear something that has no socks/stockings, such as Popo's Shirt and Pants.
Set Up
Using the Print Screen Button
This is the recommended method for those inexperienced with using the Snipping Tool.
Using the Snipping Tool
Thanks to Xcelled194 for bringing this to my attention.
This is for Windows Vista and 7 Users only.
Taking Pictures of NPC models
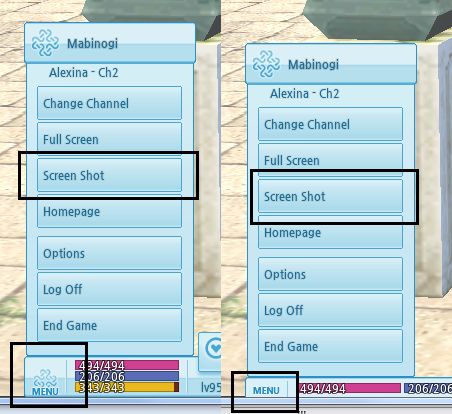
- Use Screenshot mode, and center the NPC on your screen. Use a front view, panned to around the NPC's chest. Make sure the NPC is captured properly from head to feet.
- Avoid uploading a picture that is taken with the camera at an angle, at night time, or that results in a 'slanted' standing pose.
Taking Pictures of the User Interface
- Avoid bright-colored UIs with text that is similar in color to its base. This can make the showcased text harder to read for some people.
- The Neon Green interface makes up the most of the interface pictures on the wiki as of writing this section. It is recommended to keep using it to keep uniformity.
- In the case of interface pictures uploaded for archival purposes, such as removed systems or changes of the UI that can no longer be seen, the color matters less.
- The Neon Green interface makes up the most of the interface pictures on the wiki as of writing this section. It is recommended to keep using it to keep uniformity.
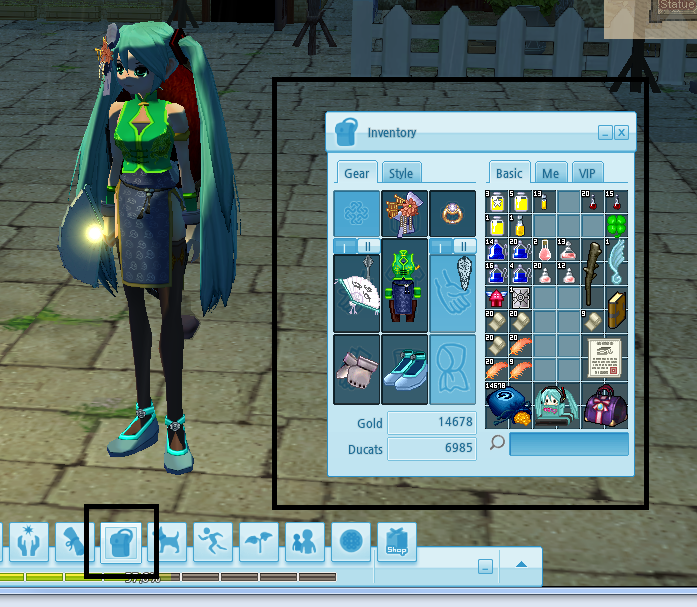
- Make sure to only capture the interface window. You may crop the picture as needed, as some windows are not perfect squares or even.

